Back to BASIC: Rewiring My Brain with an Apple //e
So I bought an Apple //e in 2025. Not because I needed another way to procrastinate—okay, maybe a little—but because this beige slab of 8‑bit attitude does something my M2 Mac never will: it slows me down enough to feel the tech again. When you have to literally load a program off a floppy and type 10 PRINT "HELLO" to make text loop, you remember what hooked you in the first place. This post is the why, the how, and the pure joy of resurrecting a 40-year-old machine and threading it straight into CTRL+Strum’s music/tech/weird science DNA.
1. The Find: Craigslist Karma & Beige Plastic Dreams
I wasn’t hunting for another project, but the algorithm clearly knows me too well. A late‑night scroll, one sketchy‑looking Craigslist listing—and I’m DM’ing a guy who didn’t just own an Apple //e, he resurrected one. He’d taken a dead, non‑booting unit and fully restored it into the cleanest, most complete setup I’d seen: dual 5.25" drives, pristine keyboard, matching monitor, the works. $350 later, I’m hauling home a beige time machine with that glorious rainbow Apple badge and a power switch that clicks.
“I paid $350 for a time machine and a nostalgia slap in the face.”
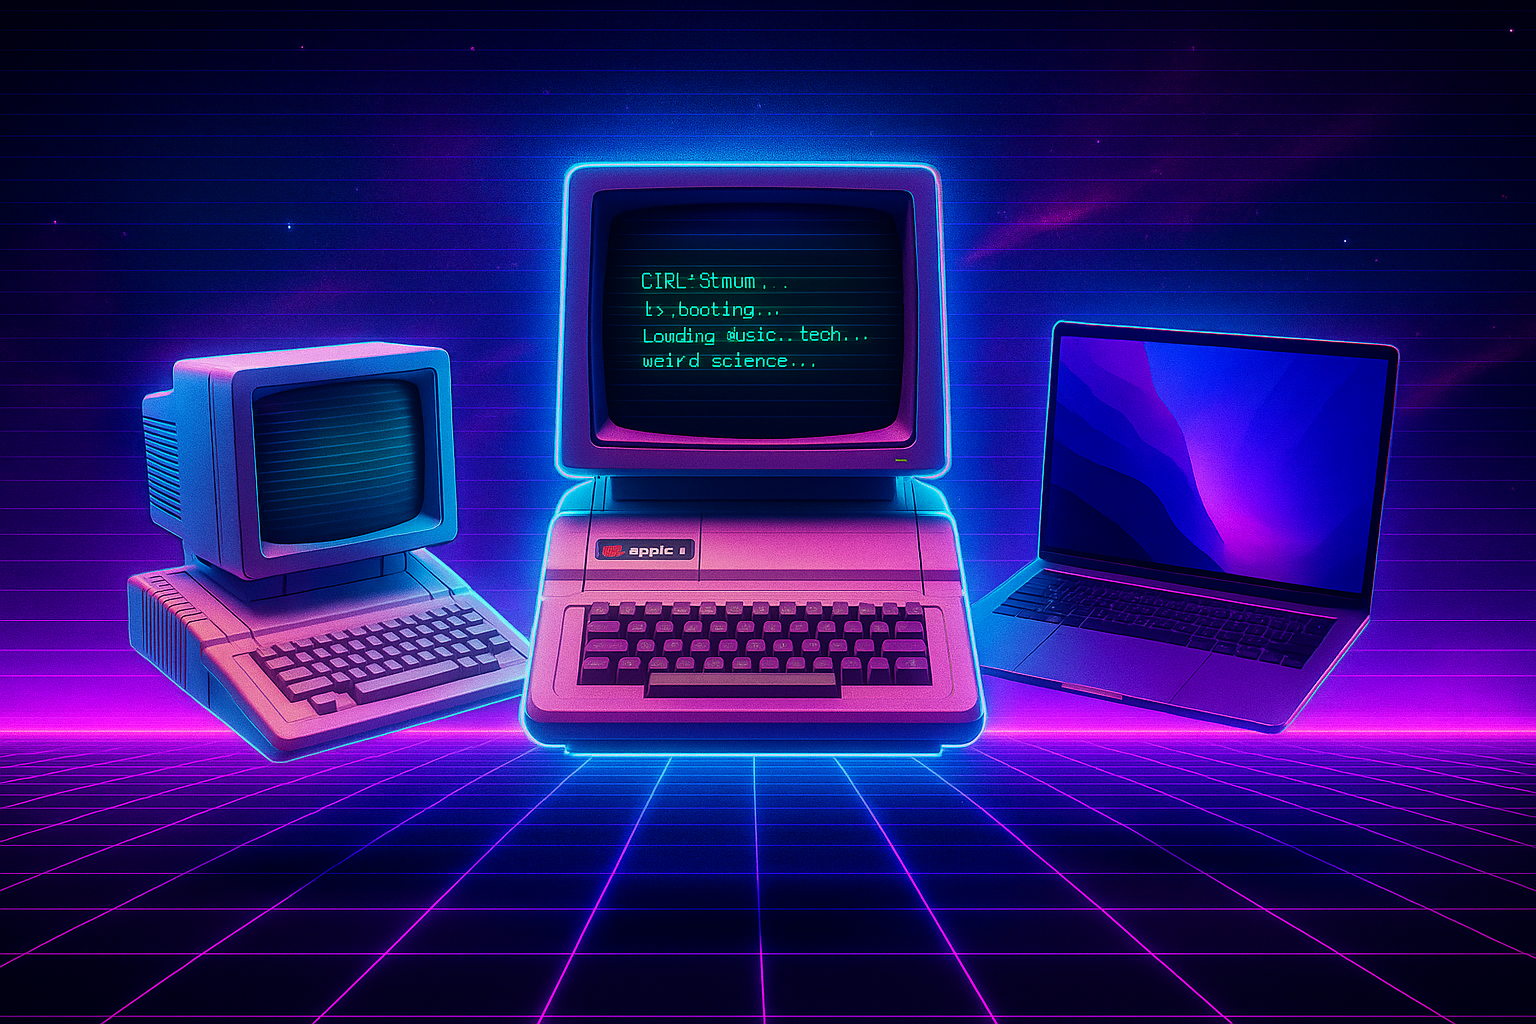
There’s something about older tech that feels… honest. No sealed black box, no 14 cloud accounts required to get started—just a board, a CPU, and the will to tinker. When I parked the //e beside the //c and my M2 MacBook, it looked like a literal family tree of personal computing: the //e as the scrappy grandparent, the //c as the sleeker middle child, and the MacBook as the hyper-connected descendant who barely remembers where it came from. You can keep your RGB gamer rigs—this thing flexes with a monochrome cursor and a power switch that clicks.
2. First Boot: Flip the Switch, Spin the Floppies
Power on. Green glow. Drive whirs. That’s the whole vibe. No USB handshake, no “updating firmware”—just a reassuring ka-chunk as the 5.25" spins up and DOS 3.3 (or ProDOS, depending on the disk) blinks to life. I dropped a system disk in, watched the directory list scream by, and immediately popped into BASIC because of course I did:
10 PRINT "CTRL+Strum is booting..."
20 PRINT "Loading music... tech... weird science..."
30 GOTO 10
Watching that loop crawl line by line is stupidly satisfying. Clearing the screen is a command, not a gesture. Resetting is a key combo, not a panic button. It slows your brain down in all the right ways—like running tape instead of playlists. You feel every byte of it.
3. Why This Matters for CTRL+Strum
CTRL+Strum is supposed to be a terminal into music, tech, and weird science—not just a Shopify with pretty cards. The Apple //e fits that ethos perfectly. It’s tactile, hackable, and it forces me to approach creativity like a builder again. Writing this on a machine that can’t even spellcheck is weirdly energizing—like a digital detox with solder fumes.
That vibe bleeds into everything: the Weird Science Specials collection, the Boot Sequence tee, even Ghost Shell. This //e isn’t just décor; it’s part of the story. Expect to see it pop up in blog posts, shorts, and probably a few questionable experiments (Apple II–controlled MIDI rig? Don’t tempt me).
4. What’s Next: Floppies, Mods, and My Rigs
I’ve already got the DIN‑5 cable—same adapter stack I used on the //c—so ADTPro transfers are basically plug‑and‑play now. Here’s the full chain for anyone curious:
Apple //e serial (Mini‑DIN‑5)
   → Mini‑DIN‑5 ↔ DB‑9 serial cable (Apple modem/printer style)
   → DB‑9 female ↔ DB‑9 female NULL‑MODEM adapter (crosses TX/RX)
   → DB‑9 ↔ USB (FTDI/Prolific) serial adapter
   → USB‑A ↔ USB‑C dongle into the Mac (because of course)
Fire up ADTPro on the Mac, select Serial at 115200 baud, and on the //e side boot ProDOS/DOS, drop into BASIC or the Monitor, and kick off the bootstrap. Once the tiny loader is in RAM, ADTPro handles the rest—catalogs, disk images, virtual drive mounting—so I can beam over a whole stack of classics without burning floppies first.
Next moves: document a clean “from nothing to bootable disk” walkthrough, dump a curated disk pack (music tools, demos, weird eduware), and get Virtual Drive behaving perfectly.
I’m also eyeing a tiny internal speaker mod and maybe a MIDI or synth-control experiment because… why not?
Also: show me your weird. If you’ve got retro rigs, cursed builds, Franken-computers, or synth monsters—submit that to The Wall. This community board was built for exactly that.
> SUBMIT YOUR RIG TO THE WALL
> SHOW ME THE WEIRD SCIENCE SPECIALS
> FOLLOW THE BOOT SEQUENCE (YOUTUBE SHORT)
> Last note sent by Ben Tankersley